This is a super-condensed unboxing and review of the audio setup I use to record my voice in my videos – very interesting if you are a YouTuber, game commentator, podcaster or want a home-studio for audio recording. You need good equipment and learn how to use it.
This video will guide you to make better recordings with good sound quality.
Connecting the Blue Yeti to an iPhone or iPad is possible; but not as simple as it is to connect the Yeti directly in a computer’s USB. To use the Yeti microphone with an iOS device you need an Apple’s USB Camera Adapter (or the 30-pin “Camera Connection Kit”) and a powered USB Hub, and you are ready to record sound with Garageband or any other App. But I recommend you to check the microphones Blue has made specifically for iOS.
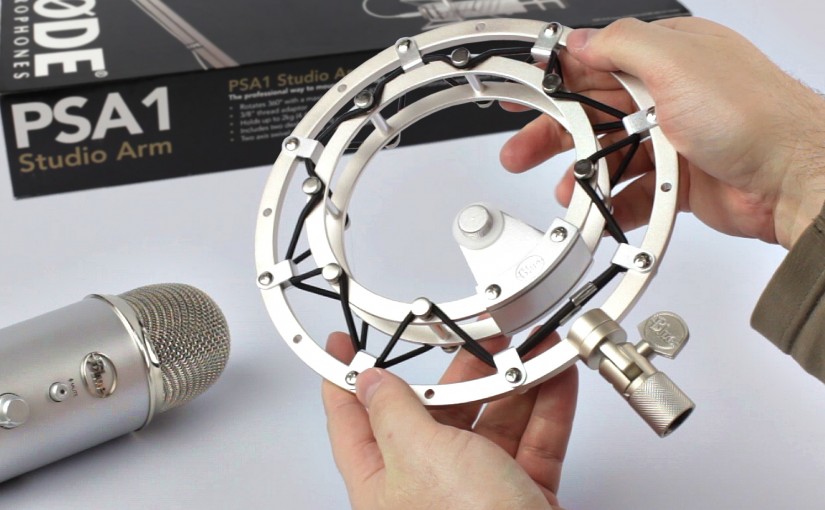
New “Radius II” shockmount suspension from Blue:
The old Radius falling problem is fixed! Blue rebranded it as “Radius II“. The new model comes with a different thumb-screw mechanism with teeth (cog). Now it stays put just perfect 🙂
http://www.bluemic.com/radius2/
Check them on Amazon:

 –
– –
– –
– –
–
Buying any product from these links, you are helping me a big deal! Thank you for your support!
Getting the best sound with Yeti recordings
To improve the sound quality of your recording with the Yeti, be sure to:
- use the cardioid pattern for voice-overs
- keep the gain knob to the minimum (I never use it over 40%)
- use a pop-filter (the nylon ones are cheaper and hold plosive-wind better than the metallic ones)
- speak really close to the microphone
- use custom equalization to enhance the sound of your voice
- you might need to apply some noise reduction
- you might need to apply some sound compression
If your natural voice is captured close to the microphone, you can use less gain and you will have less background noise.
My voice in this video was entirely recorded with the Blue Yeti USB Condenser Microphone on Cardioid Pattern. Sound recording, editing and post-processing all in Audacity. Custom Equalization was applied to remove very low frequencies and increase high frequencies (for better speech comprehension).
The best equalization is different for every person/voice. As a starting point, C-Threep has a great Audacity Equalization tutorial: https://youtu.be/t1fS97ut93c
Since my ‘recording room’ is not properly sound isolated (wooden building, you can hear neighbors walking upstairs… cars, trucks and motorcycles are frequently heard), I also apply noise reduction.
Audio compression is minimum, but, yes, also applied (by audio compression I mean increasing overall volume and reduce volume for the loudest parts, to achieve more uniform audio level – nothing to do with file size).
Professional Microphones for iOS from Blue:
http://www.bluemic.com/iOS_devices/
Spark Digital: http://www.bluemic.com/spark_digital/
Mikey Digital: http://www.bluemic.com/mikey_digital/
Special Thanks/Credits
“C-Threep”
amazing and hilarious Radius shockmount review
https://youtu.be/c1D_quSjfcc
awesome tutorial on equalization with Audacity
https://youtu.be/t1fS97ut93c
“Syrtah”
sound effect: 8mm projector
https://www.freesound.org/people/Syrtah/sounds/241886/
http://videofüralle.de
Jorick Bronius (“jorickhoofd”)
sound effect: breaking glass
https://www.freesound.org/people/jorickhoofd/sounds/179234/
http://jorickbronius.wordpress.com
“Archeos”
sound effect: woman scream
https://www.freesound.org/people/Archeos/sounds/261419/
Jason Farnham
closing song: “Opening Night”
YouTube Audio Library, free music